In today’s tutorial we’ll be looking at:
Installing Python
Installing PyMongo (Note: PyMongo is a python driver for MongoDB)
..and running mms-agent from your computer(localhost)
I’m using Windows 7 64-bit machine and the installation procedure are shown for the same.
Disclaimer: This is not a paid post and neither am I using any affiliate links in this post. I found MMS(MongoDB Management Service) incredibly useful and I wish I knew about it earlier. The monitoring and alerting services can save your applications reputation, and the backup service will literally save your application in disasters situations.
Requirements
MongoDB software: MongoDB – Getting Started Guide
Python 2.7.3
Setuptools
PyMongo driver software
Why use MMS ?
- MMS tracks the key database and hardware metrics important for managing a MongoDB deployment
- Performance Visualization
- Custom Alerts
- Back-up service ..etc
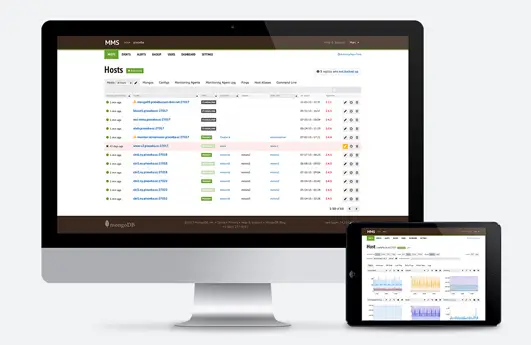
MongoDB Management Service To Rescue Your Application!
[youtube https://www.youtube.com/watch?v=HkvrksJL3Jg]
Steps
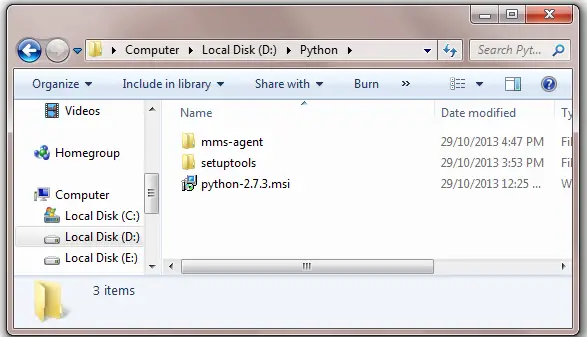
Step 1: Install Python 2.7.3 at C:\Python27
Step 2: Install setuptools
Command to install setuptools
1 2 | C:\>cd Python27 C:\Python27>python D:\Python\setuptools\ez_setup.py |
This installs easy_installer inside C:\Python27\Scripts folder. Easy installer helps in installing drivers.
Step 3: Now install Pythons MongoDB driver: PyMongo, with the following command.
1 2 | C:\Python27>cd Scripts C:\Python27\Scripts>easy_install PyMongo |
This would install PyMongo driver
Step 4: Start MongoDB server.
Step 5: Log into your MMS account, and download the MMS-AGENT. Extract the mms-agent files into a folder. In our case, we extract it to D:\Python\mms-agent
Step 6: Now run the mms-agent with the following command
1 2 3 4 | C:\>D: D:\>cd Python D:\Python>cd mms-agent D:\Python\mms-agent>agent.py |
This starts mms-agent.
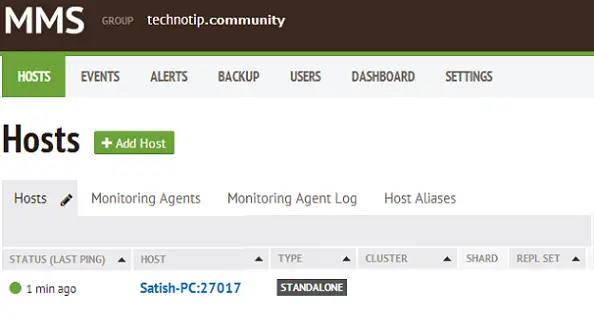
Step 7: Go to your mms account – Fill the form with the host name, port number and other details
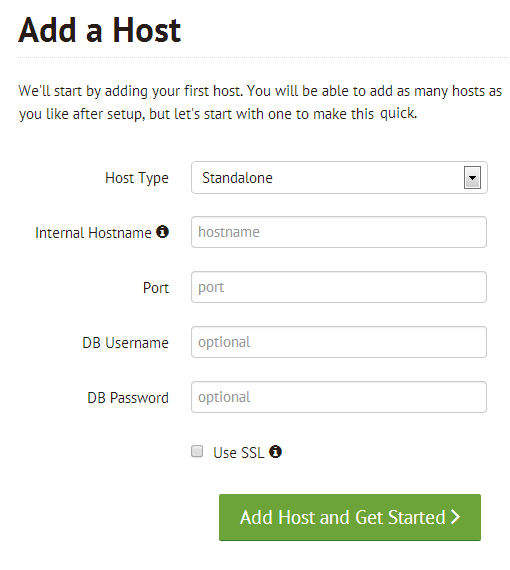
Host Type: Standalone (for this example)
Internal Hostname: 127.0.0.1 (ip address for localhost)
Port: 27017 (default port used my MongoDB server)
DB Username and DB Password: are optional
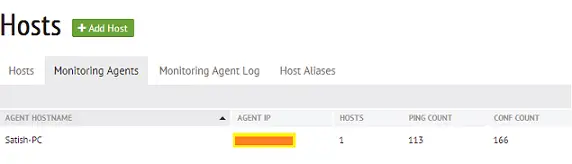
Now it’ll start to fetch the meta data metrics via your IP address, as the agent is installed on your local machine and it knows your network IP address.
Key things inside your account
Events: restart, shut-down or downtime etc
Alerts: To alert you in certain situations. You get emails for downtime etc, once setup.
Backup: It’s a premium service, which costs a little – backup service is pay-as-you-go service billed via credit card.
Users: You could invite people as admin or read only user. This way, you could bring in your team mates/colleagues to analyze and help you in performance tuning of your application.
Dashboard: You can customize your dashboard to give you quick view of key aspects of your application is a rich web console. You could have RAM usage statistics or query performance metrics etc.
Settings: Normal profile information: email id, password, phone verification etc.
Application Performance
Checking with the query performance and your application behavior from the very beginning of application development is recommended. And MMS is a perfect solution for this. This is one of the main reasons for this video tutorial. Running MMS on production servers is easy. You’ve bunch of plugins pre-installed at your host, you just need to enable it and insert the secret keys provided to you inside mms-agent file. But I would recommend you to watch for your application behavior from as early as in its development stage.
Note: You should know the norms of your application behavior, so that you can notice when there is abnormalities. MMS helps you effectively do that.
MongoDB Management Service is free service for getting metrics and setting alerts. And you only pay, if you use backup service and you pay for it as you use it.
