What’s the use of the data in database, if we can’t fetch it and display on a web page! Today’s video tutorial concentrates on fetching data out of our mongoDB collection and displaying it on the web page.

Related Read: Save data To MongoDB: Node.js
Route to display registered users
app.js
1 2 3 4 5 6 | app.get('/view', function(req, res){
user.find({}, function(err, docs){
if(err) res.json(err);
else res.render('index', {users: docs});
});
}); |
Once the user visits /view route, she will be presented with all the registered users information. Inside /view route, we fetch all the user information by using mongoDB’s find() method. find() takes 2 parameters – first parameter is an object with condition, second parameter is a callback method. If we pass in empty object as first parameter, it means, fetch all the data – similar to SELECT * in sql.
If find() could successfully fetch the data out of mongoDB collection, it renders index.jade file and passes an object to it – which contains information of all the fetched users.
Template To Display User Information
view/index.jade
1 2 3 | ul
each user in users
li #{user.name}: #{user.age}: #{user._id} |
Here we loop through users object, fetch individual user information, and display as a list item.
Fetch Data From MongoDB: Node.js
[youtube https://www.youtube.com/watch?v=U0zK-Nb2vn8]
Note: Since email address has been made as _id, each registered user will have a unique email address associated with her.
Fetch individual user information
app.js
1 2 3 4 5 6 | app.get('/view', function(req, res){
user.find({_id: '[email protected]'}, function(err, docs){
if(err) res.json(err);
else res.render('index', {users: docs});
});
}); |
Observe the find() methods first parameter. Now we are passing _id to it, which means, it has to find and retrieve only the information related to the user with that _id.
Full Code To Insert And Fetch Data into/from MongoDB
app.js
1 2 3 4 5 6 7 8 9 10 11 12 13 14 15 16 17 18 19 20 21 22 23 24 25 26 27 28 29 30 31 32 33 34 35 36 37 38 39 40 41 42 43 44 45 46 47 48 | var express = require('express');
var http = require('http');
var path = require('path');
var mongoose = require('mongoose');
var app = express();
// all environments
app.set('port', process.env.PORT || 3000);
app.set('views', __dirname + '/views');
app.set('view engine', 'jade');
app.use(express.bodyParser());
app.use(express.methodOverride());
app.use(app.router);
app.use(express.static(path.join(__dirname, 'public')));
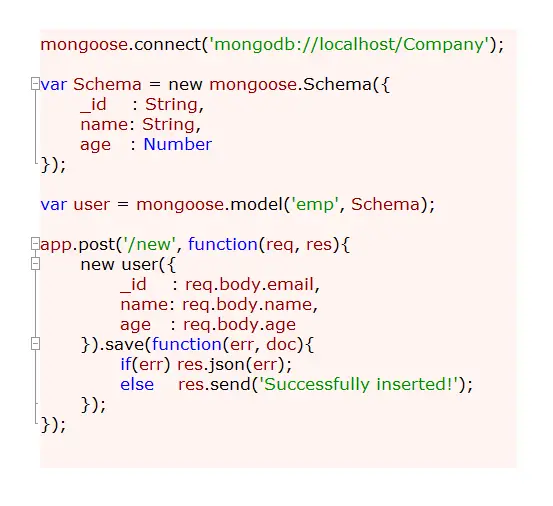
mongoose.connect('mongodb://localhost/Company');
var Schema = new mongoose.Schema({
_id : String,
name: String,
age : Number
});
var user = mongoose.model('emp', Schema);
app.get('/view', function(req, res){
user.find({}, function(err, docs){
if(err) res.json(err);
else    res.render('index', {users: docs});
});
});
app.post('/new', function(req, res){
new user({
_id : req.body.email,
name: req.body.name,
age : req.body.age
}).save(function(err, doc){
if(err) res.json(err);
else res.redirect('/view');
});
});
var server = http.createServer(app).listen(app.get('port'), function(){
console.log('Express server listening on port ' + app.get('port'));
}); |
To make this work, go to Save data To MongoDB: Node.js tutorial page and copy the index.html page code and create one for your project and put it inside public directory. Now you can directly access root(html form), enter user information and submit, which redirects to /view route, wherein you get the information of all the registered users.
Note: Make sure MongoDB server is running and turned on, when you start Node.js server and access your application from web browser.
Related Read: MongoDB – Getting Started Guide